My New Toy (Part 4)

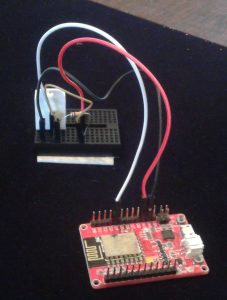
I finally got to the point where my new toy is able to publish temperature information to a database, so next is to make that information available on BakBoard.  With the main pieces already deployed, the only thing necessary is to add the necessary connections.

First I wrote a some JavaScript to poll the Webdis/Redis server for the temperature.  For extra credit I also have it contacting the FAA Services REST API to get information about weather at the Portland airport.  Below is “temperature.js”.

function temperature() {
    setupTemperature();
    updateTemperature();
    window.setInterval(function(){ updateTemperature(); }, 100000);
}

function setupTemperature() {
    $('.temperature').html("<div class='pdx'/><div class='upstairs'/>");
}

function updateTemperature() {
    var myJson;
    var url = "http://192.168.1.35:7379/GET/temperature";
    
    myJson = $.getJSON(url, function(obj) {
        var f = parseFloat(obj.GET);
        var c = (f - 32) * 5 / 9;
        $('.upstairs').html("Upstairs: " + f.toFixed(1) + "F (" + c.toFixed(1) + " C)");
    });
    
    url = "http://services.faa.gov/airport/status/PDX";
    myJson = $.getJSON(url, function(obj) {
        $('.pdx').html("Airport: " + obj.weather.temp);
    });
};

And here’s a very simple HTML file that uses the script above to display the airport and upstairs (where I put my new toy) temperatures:

<html>
    <head>
        <!-- I downloaded jQuery from http://code.jquery.com/jquery-2.2.0.min.js-->
        <script src="jquery-2.2.0.min.js"></script>
        <script src="temperature.js"></script>
        <title>Temperature</title>
    </head>
    <body>
        <div class="temperature"></div> 
        <script>
            temperature();
        </script>
    </body>
</html>

Viewing that script in a browser showed:

Airport: 73.0 F (22.8 C)
Upstairs: 71.1F (21.7 C)

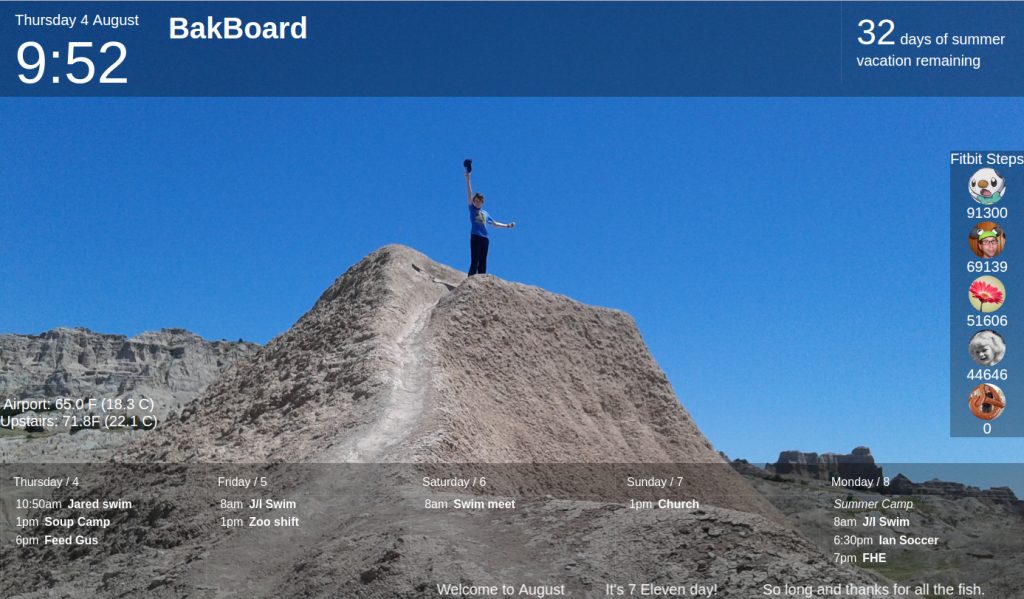
I basically added the bold HTML parts to the BakBoard .html file along with some css goodness and the temperature information is now displaying on BakBoard.

bakboardTemp

I had fun playing with my new toy and learned a lot.  The ESP8266 seems to have a lot of potential and I want to try more things.  Of course now that I have my only module in use, I may have to get another one for play . . .

My New Toy (Part 3)

In my previous “New Toy” post I managed to wirelessly publish a count, so I determined the next step to be to publish some “real” information: the temperature.

I’m not the first to use an ESP8266 module to publish temperature information and I found an excellent tutorial on Adafruit.  However, it was written for another (now discontinued) ESP8266 module with significant differences from my Electrow.  Also, the sample code provide has the module host a web server and allow clients to connect to it whereas I wanted my module to push the information to a database.  This meant I could use the tutorial as a guide, but there were still various things to figure out.

First I had to do the wiring to connect the DHT22 temperature and humidity sensor I purchased like the one used in the tutorial.  I ended up spending a lot of time and muttering various working words trying to get it to work right.  My module has onboard USB and a voltage regulator, so the wiring is much simpler, but I couldn’t get any readings.  I tried resistor changes, testing connections, and verifying voltages among other things.  Finally I discovered that when I specify pin 2 it means D04 (the fifth digital pin) on my board.  So here’s what I ended up with:

2016-08-02 15.35.48

  • The ground pin connects to the fourth pin of the DHT22 (black wire)
  • The D04 digital pin connects to the second pin of the DHT22 (white wire)
  • The 3.3v pin provides voltage (via the red wire) to the both the first pin of the DHT22 and it also goes through a 10K resister to the second pin.


The code is basically pasting together the Adafruit sample code with the code I wrote previously.  It looks like this:

#include <ESP8266WiFi.h>
#include <DHT.h>
#define DHTTYPE DHT22
#define DHTPIN  2

const char* ssid = "name of wifi network";
const char* pass = "wifi network password";
const char* ip = "192.168.1.35";
const int port = 7379;

// Initialize DHT sensor 
DHT dht(DHTPIN, DHTTYPE, 11); // 11 works fine for ESP8266
 
void setup(void)
{
  dht.begin();
  WiFi.begin(ssid, pass);
  while (WiFi.status() != WL_CONNECTED) {
    delay(1000);
  }
}
 
void loop(void)
{
    float temp_f = dht.readTemperature(true);

    WiFiClient client;
    client.connect(ip, port);
    String url = String("/SET/temperature/") + temp_f;
    client.print(String("GET ") + url + " HTTP/1.1\r\n" +
           "Host: " + String(ip) + "\r\n" + 
           "Connection: close\r\n" + 
           "Content-Length: 0\r\n" + 
           "\r\n");
    delay(5000);
} 

I had already started up a Webdis/Redis server as described before, so I could verify it worked by running curl and confirming that it returned a value (in this case 72.68F).

$ curl http://192.168.1.35:7379/GET/temperature
{"GET":"72.68"}

Searching online, I found the ConnectSense CS-TH Wireless Temperature and Humidity Sensor that seems pretty much like what I made, but in a pretty box and costing $150 (granted it does come with some nice software as well).  Now that I have my own budget version, I can look to do something with that temperature data I’m collecting.