After spending a lot of effort and encountering difficulties in creating pieces, I am often pleasantly surprised when the pieces come together quickly and easily. This was the case for my latest home improvement tech project. In my home, it seems like some areas are warmer than others–I realized that some variance will exist, but I wanted to reduce the overall difference between upstairs and downstairs.
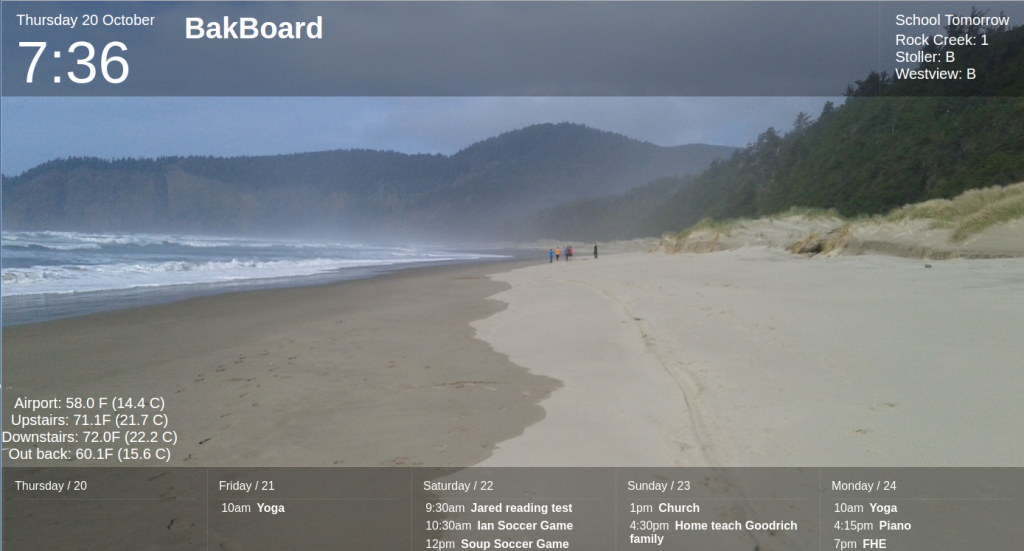
The first step was to be able to measure the temperature or each area. Thanks to my ESP8266 development boards, I am able to publish the upstairs temperature and publish it to a database and Bakboard. With the new Nest thermostat and a little playing with the REST API, I was able to do something similar and publish the downstairs temperature to the BakBoard. There are now four temperatures published on the Bakboard.
I then wrote a simple Java program with that basically does the following:
- Get the temperature of the [Downstairs] thermostat
- Get the temperature of the [Upstairs] temperature sensor
- If the difference between the two temperatures is greater than 2 degrees, turn on the furnace fan
I had a little trouble figuring out how to turn on the fan, but this is the way I implemented it in Java:
public void runFan(String thermostatId, String authToken) throws Exception {
    final String rootUrl = "https://developer-api.nest.com";
    HttpPut httpPut = new HttpPut(String.format("%s/devices/thermostats/%s/fan_timer_active", rootUrl, thermostatId));

    StringEntity putEntity = new StringEntity("true");
    httpPut.setEntity(putEntity);
    httpPut.addHeader("Content-Type", "application/json");
    httpPut.addHeader("Authorization", "Bearer " + authToken);

    CloseableHttpClient httpclient = HttpClients.createDefault();
    try {
        CloseableHttpResponse response = httpclient.execute(httpPut);

        // We need to handle redirect
        if (response.getStatusLine().getStatusCode() == 307) {
            String newUrl = response.getHeaders("Location")[0].getValue();
            httpPut.setURI(new URI(newUrl));
            response = httpclient.execute(httpPut);
        }

        try {
            HttpEntity entity = response.getEntity();
            EntityUtils.consume(entity);
        } finally {
            response.close();
        }
    } finally {
        httpclient.close();
    }
}
Of course I want my code to run at regular intervals, but fortunately I had already figured out how to go about running a Java program every 15 minutes. It was easy to toss everything into a Docker container and let it do its thing.
Here are a few notes/design decisions that I made when putting things together:
- There are no changes to the basic functionality of the Nest thermostat. It is not aware of the external temperature sensor and heats/cools as normal. This means, even if something goes wrong in my code (or network connection or custom hardware or somewhere else), things can’t go too crazy.
- My code does not control the length the fan runs–it starts the fan and lets the Nest take care of turning it off. There is a default run time that can be set on the thermostat–in my case I set it to 15 minutes to match the run duration of my new program.
- I have a two stage furnace and when just the fan is run it goes at half speed. Even at full speed the furnace fan is pretty quiet, and at half speed we don’t even notice.
- The thermostat only gives me the temperature in degree increments (if I were using Celsius it would be in half degree increments). My homemade temperature sensor goes to greater precision, but it’s hard to say whether that greater precision provides better accuracy. I went with a 2 degree variance threshold for enabling the fan to allow for rounding differences as well as accuracy differences between upstairs and downstairs temperatures.
As far as I can tell, everything came together smoothly and “just works” and has been for the past few weeks. Occasionally I check the log to make sure it’s still running. Once in awhile when I walk past the Nest I notice the fan icon indicating that the fan is running (and I can verify that by putting my hand near a vent). The weather is still mild, so it will be interesting to see what happens when it gets colder (especially when I rev up the wood stove), but so far there seems less variance in temperature throughout the house. I love it when a plan comes together . . .